This past summer I went into full-blown squirrel mode to combat my allergies. It feels like my normal life gets put on hiatus for a month or two, while I suddenly frantically start storing food in preparation for winter. Of course, it’s not always necessary… but it sure does make my life SO much nicer in the winter. There are some seasonal fruits and vegetables that are simply inaccessible to me (or outrageously expensive) in the winter. For example, if I buy corn in season, it can be as little as 25₵/cup. But in the winter, my only safe source is about $2/cup. Gooseberries are a great example of something that I can only find in the summer- and often only if I pick my own. Preparing food in advance also gives me access to homemade “processed” food, which then allows me to expand my diet because then I’m not always eating the same food in the same ways.
This explains why I become rather squirrelly every summer! I want to take advantage of summer sales so that my food budget doesn’t skyrocket in the winter, and there’s something incredibly satisfying about having safe food stashed away. Not to mention growing my own safe food! Just in case you want to follow in my footsteps… here’s what I did (Or, in some cases, what I should have done).
Step 1: Planning– In January I laid out a rough plan of what I wanted to prepare, and how I wanted to prepare it. I should have also had a plan of how much I wanted to prepare… but this year was a bit of an experiment in pressure canning so I just tried things out.
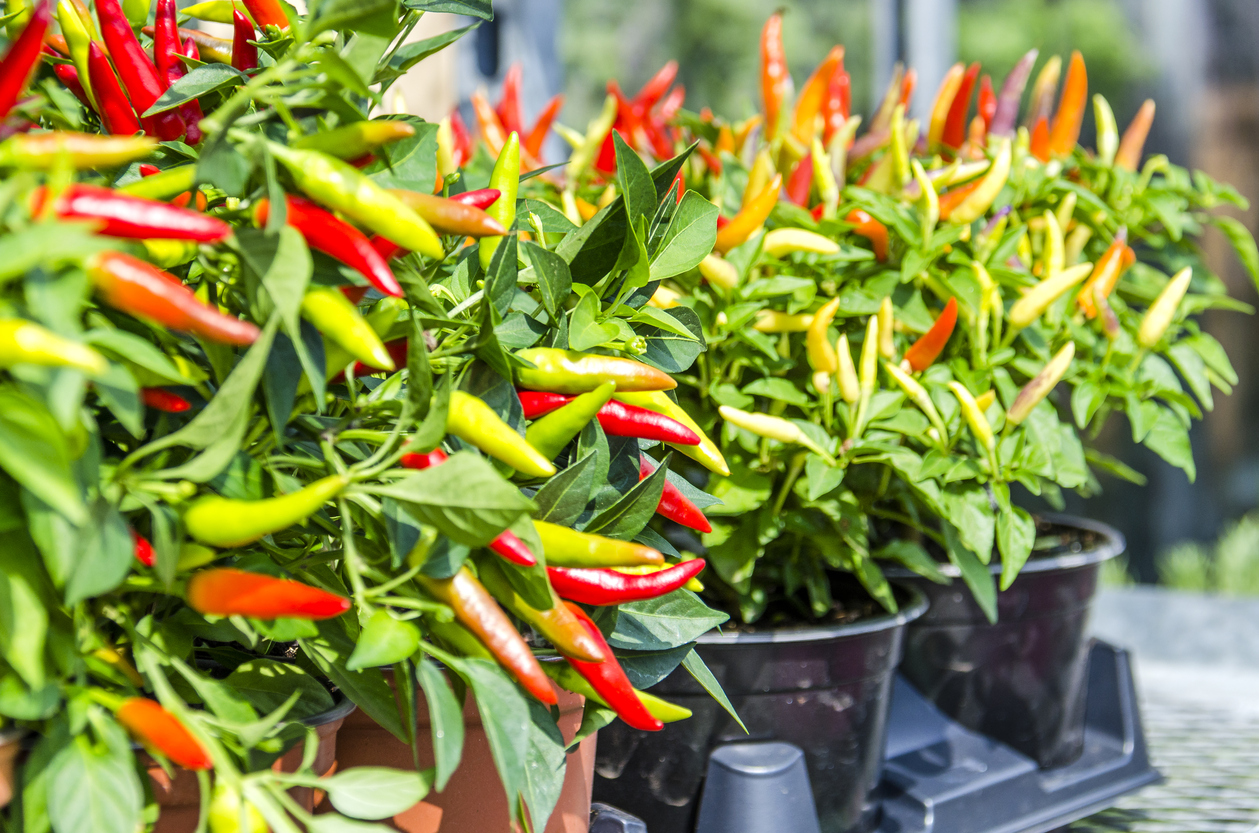
Step 2: Planting– This year I planted a full 8’x4’ garden with allergen-friendly veggies that I could easily grow to produce a big harvest. I also intentionally re-planted many of them when they were seedlings so that they weren’t too close together, which was quite successful. Next year I’d like to sprout them before I plant the seeds, so that I can avoid re-positioning the seedlings.
 Step 3: Buying– Some of the best sales I found were rather spontaneous decisions, like the moment I found chicken on sale for $7 instead of my usual $24. I bought 12 on the spot, and proceeded to use the rest of my shopping trip as impromptu teaching opportunities to explain to everyone who asked or looked at me strangely that allergies can be really expensive at times!
Step 4: Going to farms– Most of my other large purchases were made when I went straight to the farms where the food was grown. I did a bit of price comparison by calling around, and then ordered ahead and was able to get 50 cobs of corn for $25.
Step 5: Preservation– There are three main ways that I preserved my food this past summer- freezing, canning, and dehydrating. I was very happy to be able to purchase and clean a used pressure canner as well as a dehydrator, and then bought a vacuum sealer on sale from Costco to help with storing both dry and frozen foods. If you’re doing research into how to preserve foods, there’s lots of great resources out there. The one I found myself using the most was the USDA Complete Guide to Home Canning from the NCHFP.
Step 6: Sanity– I was able to get my fabulous friends to help me cook, but it was last minute. I should have planned for more help in the really busy weeks, taken some time off work and cooked my regular meals in advance. I also should have planned a trip to a restaurant, as a reward at the end!
At the end of the summer, as frost (and snow) has already started to cover the ground in my area- there’s good news: my squirreling was successful! Now to catch up with the rest of my life… 😀
– Janice H.
Tags: Janice H., Meal Planning, Preparation